Skills Gap 2: Character Modelling - Part 4
- 723799
- Nov 1, 2023
- 3 min read

For the hair I’m starting off with the eyebrows and lashes.
The first Step for both of these is to duplicate the areas of the face that we want our hair.


Then I apply the solidify modifier to give it some depth
I have the setting so that it is visible in front of the face, but only as a thin line.
Then I remove unneeded faces and move the verts to get the shapes I want.


I try to match the expression as well as I can. I can move around the face using the fig to get the look I want.

To start off the hair, I first have to outline the scalp like I did with the eyebrows and lashes.

The actual hair is going to be made from pathways.

These paths can have their bevel shape be set to any curve object. This means I can customise their shape.


The circles I end up using are these:

To match the shape of the hair from the reference, I made the hair wide near the scalp and thin at the ends.

Just like in the reference the hair strands meet at one point in the middle of the scalp.


I tried my best to match the reference. I had to tweak the hair in a lot of different ways and It couldn’t realistically match the reference exactly, but I think it turned out ok.

In the end I used much more of one bevel than the other, so most of it is quite flat. But that will be fixed with the material.


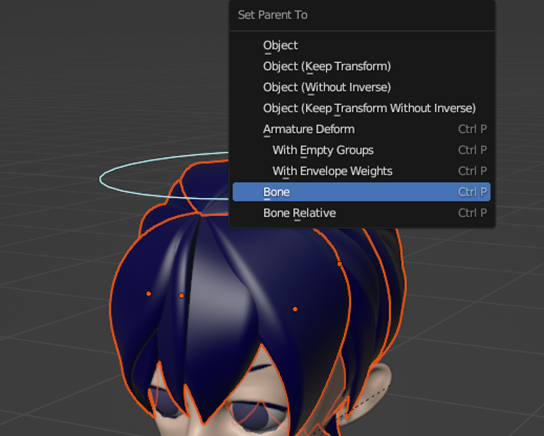
I attached the hair to the head bone and that was that.


Following the tutorial I made a shader for the hair. This would not only give it a hair like texture, but also give the ends a more realistic, frayed look.


Unfortunately, even though it looks great, my computer is unable to run the Cycles engine smoothly. So, I just got rid of the frayed effect and ran it on Eevee instead.
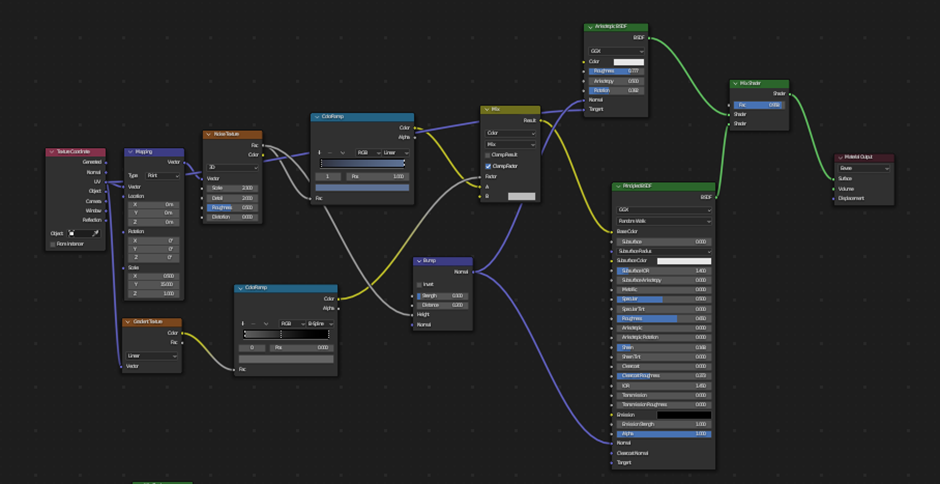

It still looks good all things considered.
Before I could start the clothing I had to get the model in a presentable pose.
I chose this from a piece of concept art and copied it to the best of my ability.


Making clothing is simple. First you select the segment you’re covering. Then you duplicate and separate the section. Finally you add a solidify modifier.

Now getting the clothing to look how I want is a completely different challenge. I had already stopped following the guide when doing the hair, as from that point it was no longer useful as I wasn’t making the same character. But I had already picked up a lot of skills so far so I felt confident finishing without the guide.

The reference for the outfit I’m using is from this chapter cover page. I chose this mainly because it was the simplest outfit, I could find for me to make, although I could of just gave him any outfit, I wanted to make sure it’s recognisable as the character.

The biggest challenge of creating any outfit for this character is that he always wears a bow, which is much more complex than a shirt is to make, but I felt I could do it using the same method.


The way I did it meant that the topology for it looked awful, I essentially extruded a plane around like I was tying a real bow. But it at least looked like a bow on the outside.

Some easy accessories to add were the eyepatch, cuffs and socks.


The buttons and earrings are just extruded circles.


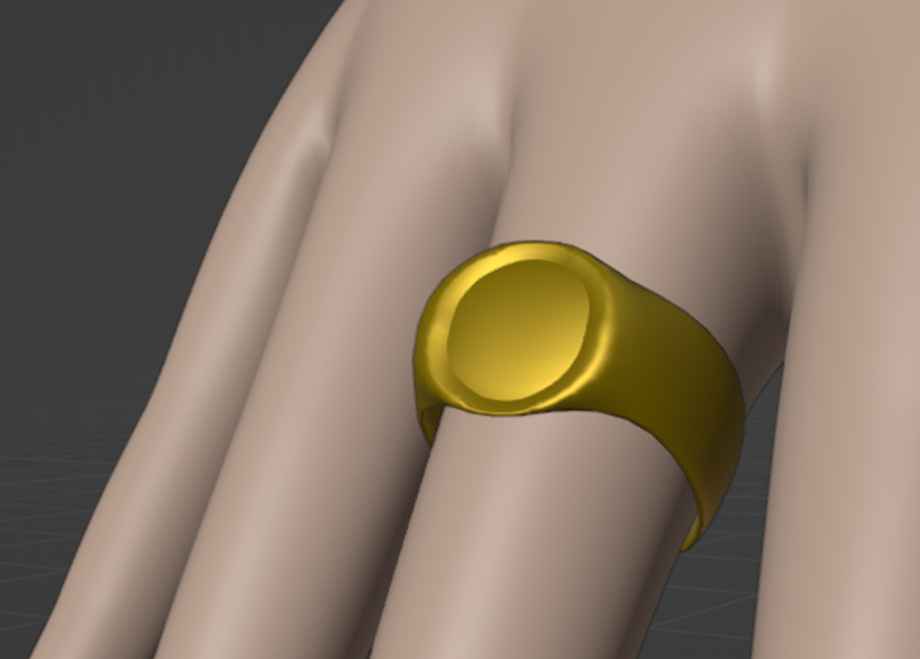
I decided to also add the characters rings. I didn’t put much detail into these as they are quite small, so I just used the premade loops on the hands topology to make them.


For the shoes I also had to get a separate reference.


Finally I quickly made some details to the jacket that roughly look like the reference.

I worked tirelessly on this for two weeks, so I’m really glad that the result ended up so good.
I’m quite proud of how I did, especially because of how hard it was to try to problem solve for something I didn’t have experience doing.
Most importantly though I’ve learnt so many skills that will make my future blender experiences go much smoother. Doing this skills gap has definitely made me want to make more things in blender and to try and learn more complex things like shader nodes.


Comments